


The Ultimate Background Removal Guide with PhotoShop
A picture is worth 1000 words. But what if I wanna “cut” some of those words and create my own message? GNU Image Manipulation Program (GIMP) and Adobe Photoshop are two of the most popular image editing tools out there. In this article, we will look at Photoshop’s capabilities. Photoshop offers us the possibility to remove a subject from a photo, but how to do that? Which tool will do the best job?
Getting started!
Photoshop offers us a bunch of tools for background removing, but lets take a closer look at this. To actually remove the background or a subject from a picture, first thing you have to do is to select it. Because of this, I have split up this process in two parts:
- The selector tools.
- The eraser tools.
The selector tools offer us the power to delimit the subject, so in later actions we can copy or remove it. The tools are:
- the lasso tools;
- the pen tool;
- quick/magic selection tools;
- quick mask;
- the color range app;
The eraser tools remove the pixels from inside the selection, or outside the selection.
This tools are:
- the eraser tools.
- the extract filter.
Note: even if every tool has a different objective they will not always give the best results, that is why a combination of them all will create the perfect selection/background removal.
Lasso Tool
One of the oldest tools offered by Photoshop, the lasso tool a beautiful way to select something fast and with no headaches. The lasso tool lets us create a continuous manual selection by click around the subject.
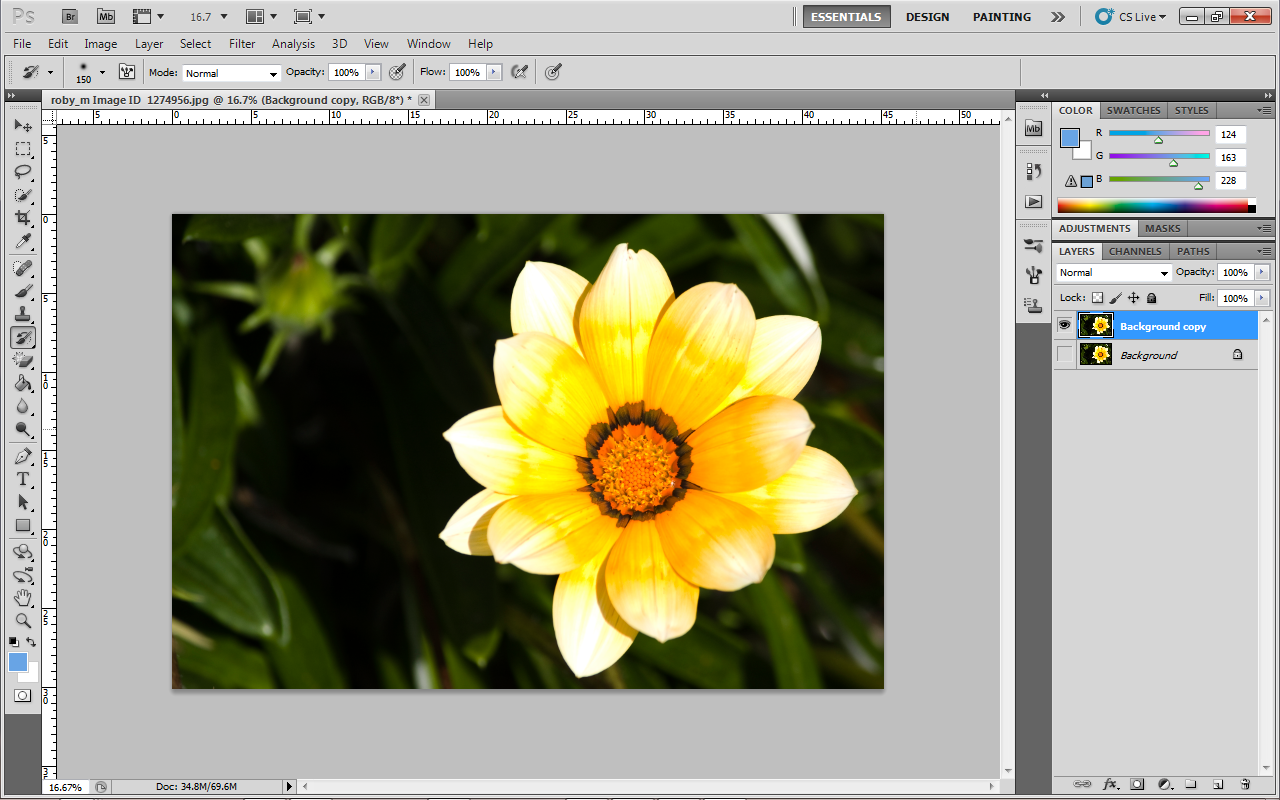
Photo Source: Yellow Flower
So we have this nice photo of a flower, with a cleare contrast that will help me show you how to use the lasso tool.But first thing, create a new copy of the photo, in case we do to much damage, or need to compare the final result, we can go back to the original and see.
Get our top quality Oracle certification preparation and Alcatel lucent preparation materials and get certificate in first try. PassCertification offers Oracle 10g preparation and Oracle 11g preparation materials with 100% money back guarantee.
Pages: 1 2 3 4 5 6 7 8 9 10 11 12 13 14 15 16 17 18 19 20 21 22 23 24 25 26 27 28 29 30 31 32 33 34 35 36 37
This entry was posted on Monday, December 13th, 2010 at 10:28 and is filed under Tutorials. You can follow any responses to this entry through the RSS 2.0 feed. You can leave a response, or trackback from your own site.
I would to the motorcycle again. I had a blast!
Awesome Tutorial of remove background as I ever seen. 🙂 Keep doing I Like it 5+++++
Great tutorial. Don’t forget about Refine Edge in CS5 as well. It’s by far the most powerful way to remove subject or backgrounds especially when dealing with hair and subject matters that don’t have a decent contrast against the original background.
with refine edge I was able to select the eagle. could not do a good job without it.
Excellent! Thanks…
Why do people show their skills using simple images ???
It would be better and more educational had you used one image with each tool illustrating what, why, how and when …
AND, use a complicated image like male and female photos with complex background doing “HAIR” background extraction —
You showed nothing productive found everywhere on the Internet —
My key objective was NOT! to show my skills, but to teach somebody something new. To make someone know what that tool can do, but not on its own, in a combination with other tools or process. What tool to use on a picture is essential.Where you going to use a pen tool for the flower with the background instead of the background removal tool? Some people don;t even know that tool exists (beginner or advanced).
Just because you find it boring, doesn’t mean others will. Life is not about you! If you haven’t notice my life doesn’t evolve around attention sluts like yourself.
Productivity is a process, how you get there is up to you.
Thank for this tutorial. I know many people who need this done for them and now I can do the work. LOL I am a beginner to Photo Shop but an avid user of PSP by Corel. I got bored.
Your well described tut was good, I do have a suggestion::: when using the screen shot…write what numbers or colors we need because I could not see your options on the screen shots.
I am a tutorial writer for Paint Shop Pro Photo so I thought I would give to you what has given me freely. Hope I didn’t hurt your feelings.
Hugs,
Olivia
Not problem! Feedback is good, good or bad, it’s the same for me. Thank you for the advice, I will take this in consideration on future tutorials.
Hello,
I actually took 1 hour to go trough all your pages of this tut. I knew some of the methods before, but it was very helpful.
Thanks for your time and effort you put into this.
Cheers!
My key objective was NOT! to show my skills, but to teach somebody something new. To make someone know what that tool can do, but not on its own, in a combination with other tools or process. What tool to use on a picture is essential.Where you going to use a pen tool for the flower with the background instead of the background removal tool? Some people don;t even know that tool exists (beginner or advanced). Just because you find it boring, doesn’t mean others will. Life is not about you! If you haven’t notice my life doesn’t evolve around attention sluts like yourself. Productivity is a process, how you get there is up to you.
Hi! I’m pro user (since 5.0 version) and i’m impressed with this tutorial. Well done! I guess you mention all the possible ways to do this. I also use the channels sometimes. Congrats!
Thank you! I’m glad you like it.
Could someone create a AutoPager profile for this website?
Thanks.